The chalkboard paint has cured for the three days as per the requirements and we now need to apply the chalk to the whole board before "chalk writing/ drawing " on it. I applied the chalk and wiped off with a cloth. Benjamin Moore recommends using a cloth to wipe off and using only blackboard light coloured chalk for design/quote application as other chalks can leave a residue...well we don't want that
 |
| Prior to initial use rub the entire surface with a piece of chalk and then wipe clean |
 |
| Using a decorative molding cut the trim pieces to fit surrounding area to make a frame |
 |
| Tip: Paint trim pieces before applying |
 |
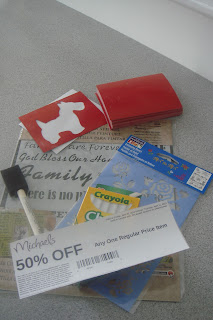
| Go to Michael's with 50% off coupon and pick up stencils and chalk ( white and coloured) |
 |
| If you thought I was impatient ???These two little helpers were all over it the minute the supplies arrived |
 |
| Or, using a combination of stencils and free hand design/ quote...come up with your own images |
 |
| Stencils did not do too well they were too small so we used our own free hand style. Note to self: buy larger stencils |
 |
| All of this had to be wiped clean of course to apply the trim but it was fun and we are getting the hang of writing on the board which is cork board with chalkboard paint so maybe not as smooth. |
 |
| We stuck the painted wood frame on with "No More Nails" Worked very nicely |
 |
| Framed and flowered - Thistles freehand |
 |
| Dearest GD added some poignant words of her own choice |
 |
| ... we have a ...blackboard!! |


No comments:
Post a Comment